Tooltester is supported by readers like yourself. We may earn an affiliate commission when you purchase through our links, which enables us to offer our research for free.
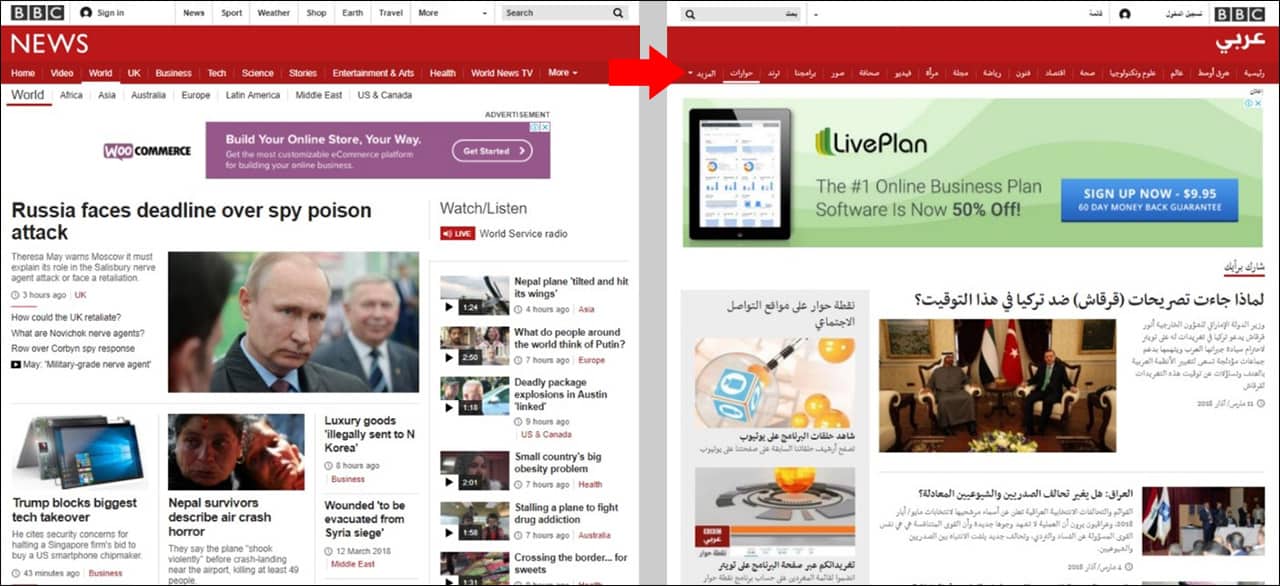
Every business wants to expand their target market and what better way is there to expand it by approaching markets that speak another language?
By offering your customers a multilingual website, you can take your business internationally and expand your reach to new markets. According to recent statistics, only around 20% of the entire world’s population speaks English, which means there a huge untapped market just waiting to be discovered.
However, with building a multilingual website (or converting your existing one), there are definitely some challenging obstacles you’ll need to address and overcome.
I’m going to guide you through the steps need to know about creating a multi-language website. So, let’s jump straight into it!
Best Website Builders for Multilingual Websites
To start, let me show you two website builders and three WordPress plugins that let you set up multilingual websites.
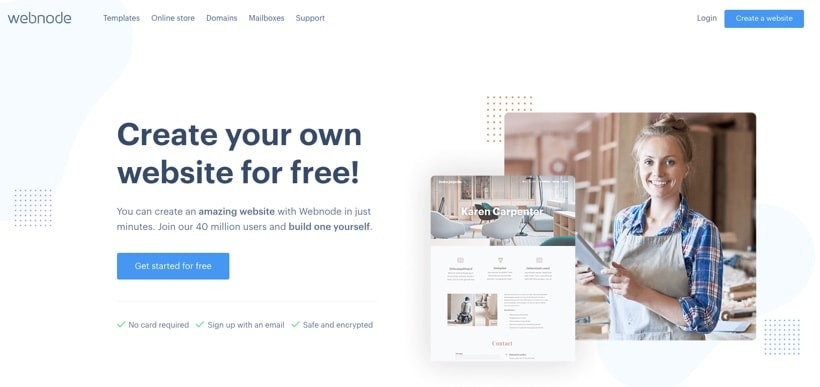
Webnode
This Czech website builder is available in over 20 languages. A big plus is the ability to create multilingual sites via a folder system (e.g. yourwebsite.com/de). It’s very simple and doesn’t have a huge range of options. But it works pretty well. What’s great is that Webnode also has a backup and restore feature, which can come in handy when a content update didn’t work out as it should.
Pricing:
Standard: $12.90/month. Lets you create a website with 3 languages in total.
Profi: $22.90/month. Create a website with as many languages as you like.
> Read our full Webnode review
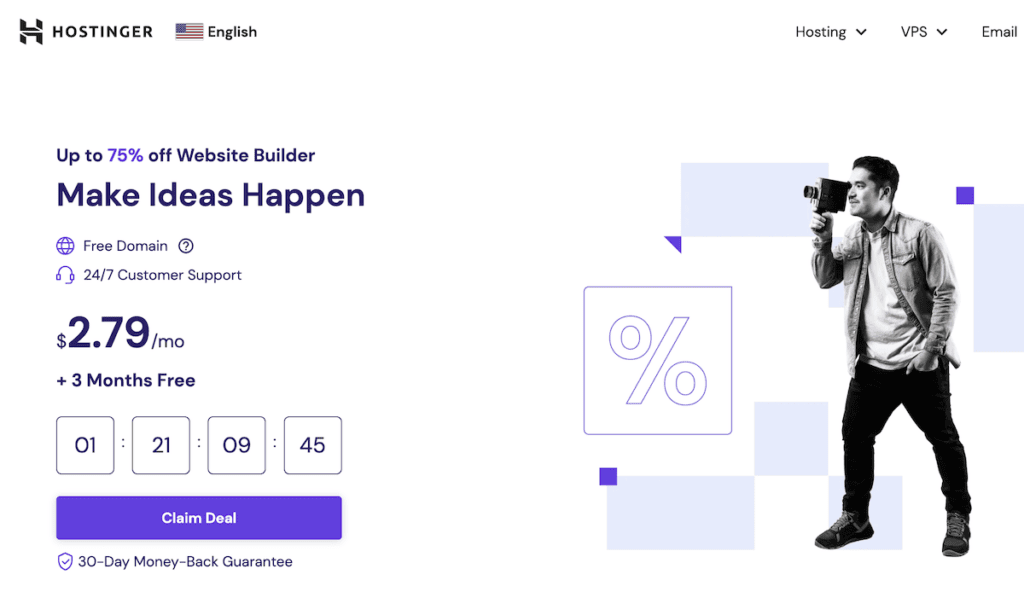
Hostinger Website Builder
Hostinger Website Builder, previously called Zyro, offers a simple, intuitive drag-and-drop editor, ideal for beginners. The platform doesn’t skimp on choice, boasting a selection of 150 templates across various categories. If templates aren’t your thing, they’ve got an AI website generator that crafts a custom site for you after answering just five questions. For multilingual capabilities, Hostinger Website Builder lets you translate your content and articles, ensuring SEO-friendly URLs.
Pricing:
Basic Plan: Starting at $9.99/month. Suitable for small projects and individual users.
> Read our full Hostinger Website Builder review
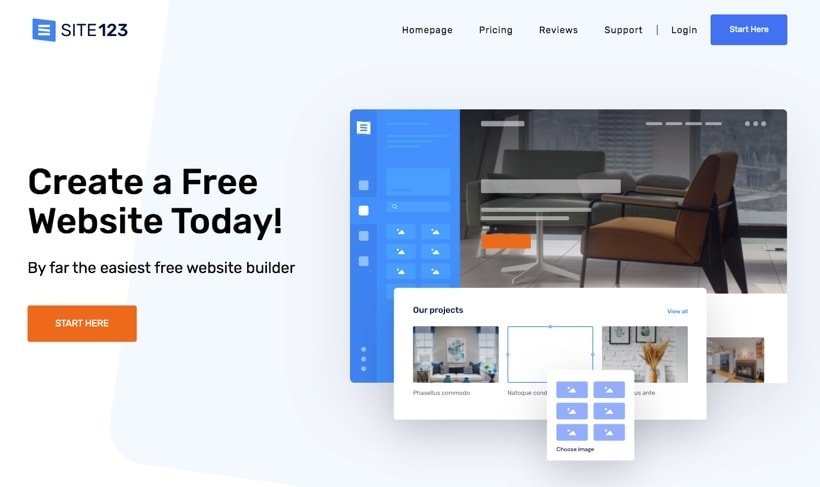
Site123
This website builder even allows you to put your translations in a folder (e.g. /es/), a sub-domain (es.yourdomain.com), or a different domain (yourdomain.es). Note that the maximum number of languages they allow is six. Even though they offer a free plan, you’ll need to upgrade in order to use the language feature. Site123’s backend looks a little dated but there are a couple of nice templates. And if you really don’t want to pay for your translation you can use Site123’s automatic translator (although I really wouldn’t recommend you to).
Pricing
Advanced: $16.80 per month. Create a bilingual website.
Professional: $22.20 per month. Use four languages in total.
Gold: $28.80 per month. Use six languages in total.
> Read our full Site123 review
WordPress
Many of you are probably using WordPress. For WordPress, there are a couple of interesting plugins available.
WPML
The biggest out there is WPML. Prices start at $29 with one year of support and updates included. It’s a powerful plugin but not without issues, especially if you are using a lot of other plugins. Your backend can get slow and conflicts are possible. WPML is able to manage your languages in a folder system, subdomains or under entirely different domain names (see section “Decide on Your Multilingual Format” for more details on this).
PolyLang
The free plan makes this plugin very popular. I haven’t used PolyLang myself but it seems to be an interesting option for WordPress. Paid plans start at $99 per year. Here’s a fairly detailed comparison of WPML and PolyLang.
MultilingualPress
This plugin requires a multisite installation and starts at $199 (requires yearly renewals). Support is included. MultilingualPress targets larger websites.
Let’s now see all the steps that are required to build that multilingual website of yours!
Step 1 – Translate Your Content
While not directly related to designing or building your website, this is perhaps the most important step you need to take. The first thing you’ll want to start doing is translating your content. I would stay away from low-cost translations, especially if you don’t speak the target language yourself! Remember: not everyone who happens to speak two languages is automatically a good translator.
Whether you’ve got several pages on your website or thousands of pages and product descriptions to handle, translating your content is going to be the most time-consuming task so you’ll want to get it started straight away.
Your first step is to translate your content for each page to the language you want your website to be in.
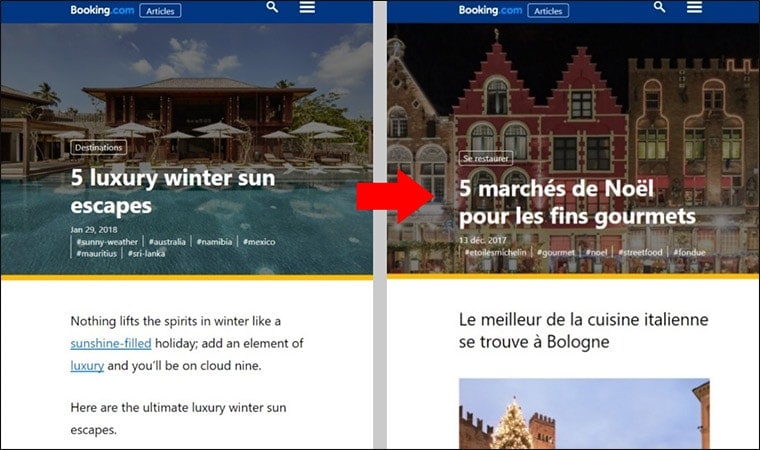
Your first step is to translate your content for each page to the language you want your website to be in.
You’ll also want the translations to be accurate, so be careful with free language translation tools.
QUICK TIP: Forget about Google Translate! If you want to use machine translation, try DeepL, which is a free, AI-based translation engine. But even DeepL isn’t always perfect, so be prepared to correct its output. Ideally, though, have your content translated by a real human!
Although this may be the most cost-effective solution, hiring a professional translating service or a freelance translator is a much accurate route to take. There are numerous translation services you could consider, such as International Translating or Big Assignments. This is because human translators have a much firmer grasp on a language, including aspects like concept, vocabulary, and the overall feel of each sentence.
Step 2 – Decide on Your Multilingual Format
In short, there are two main ways you can approach designing a multilingual website. You can either:
1) Have a single website domain, where you’ll be able to take your website’s single domain name and add subdomains (or subfolders) which contain the translated pages.
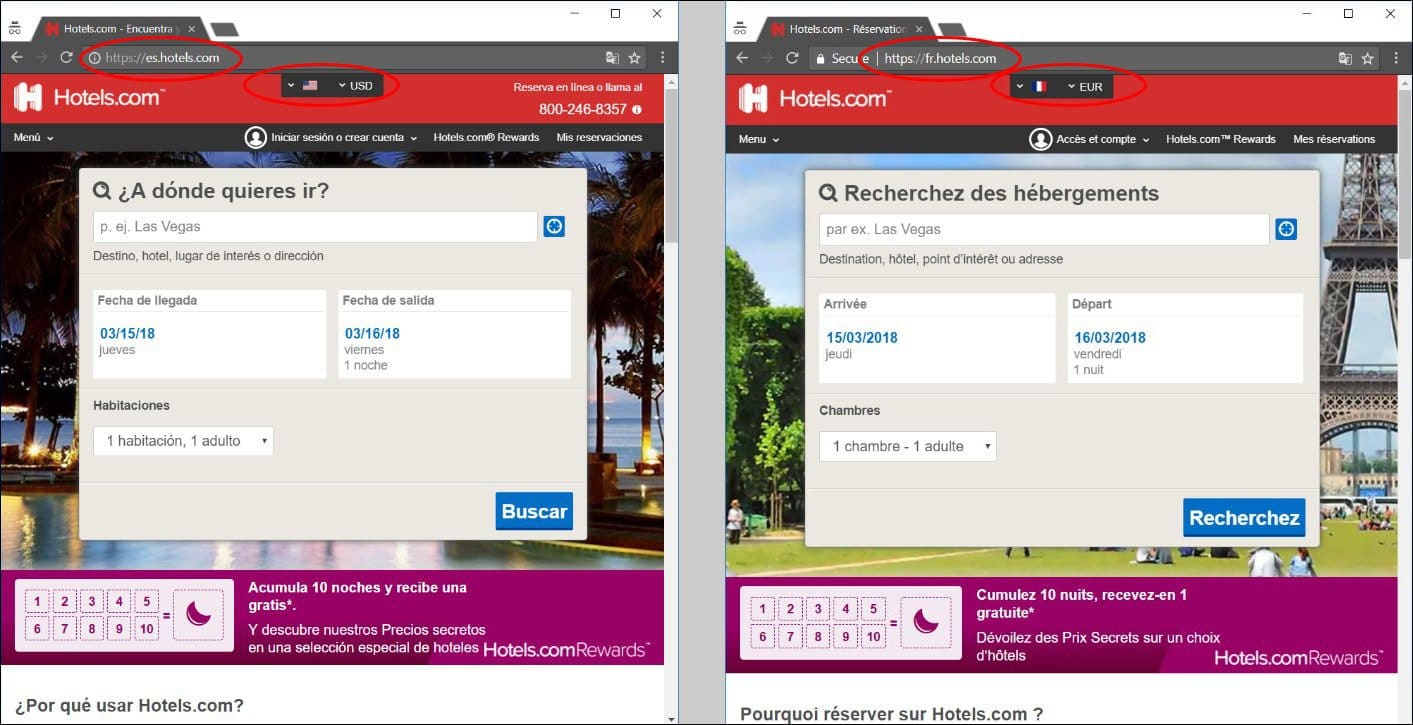
Hotels.com with their subdomain setup
2) You can use separate domains to host the multilingual versions of your website such as having a separate co.uk and .fr. website.
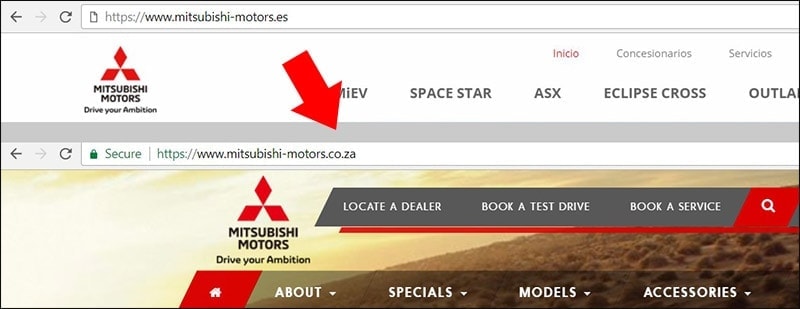
Here’s an example of a multilingual website with separate domains for each language for Mitsubishi. Note that the domain ends in each country’s specific IDN ccTLD, such as .es or .co.za.
There are pros and cons to both, which I’ve described below:
The “Different Folders” approach (example: apple.com/es)
For many scenarios, this is actually the smartest approach. Even a lot of big companies like Apple are using language folders.
Pros
- Relatively easy to set up
- Best for SEO
- Standard way for out of the box solutions
Cons
- Structure needs to be very similar between languages
- Difficult to set up if your CMS doesn’t support this approach
The Subdomain Approach (example fr.hotels.com)
In most cases, it’s not the ideal solution.
Pros
- An affordable solution
- No need to invest in dozens of domains
Cons
- Only the second-best solution for SEO
- Subdomain-URL aren’t as nice
The Separate Domain Approach (example: https://www.mitsubishi-motors.es)
Using separate domains is only recommendable if your content is very different from country to country.
Pros
- A dedicated user experience, no matter what language they are using
- Easier way to serve individual content to countries that speak the same language (US, UK, etc.)
- Use of different website designs is easier
- You can use entirely different domain names (which can feel much more local)
Cons
- Is the most expensive approach (many different domains and websites)
- Means you have to manage and update several websites.
- Less authority for each domain from an SEO perspective (worst approach for SEO).
The “Different Folders” approach
With the folder approach, you simply add a language folder to your domain name (e.g. apple.com/es). The biggest advantage is that your SEO efforts can be targeted to just one domain name. It’s going to be much easier to rank well in other languages as you’ll benefit from the authority your domain name already has established.

Apple’s website is using a subfolder for each language
The different language versions can’t be too different from each other as you’ll only have one website installation with one set up plugins and the same template. If you want to create pretty distinctive websites for each language you should consider one of the two following approaches.
The Subdomain Approach – How to Build a Subdomain Layout
With a subdomain approach, you’ll simply be creating extra, linked pages to your existing English-written pages. For example, let’s say that you’re translating English into French, Spanish and German. Whereas you’ll have your English page, you’ll then need to create three other pages, one for each language and make subdomains for each country and users’ location. For example, es.yourwebsite.com where “es” is a subdomain for Spanish. Also, your website should have an option to choose other languages.
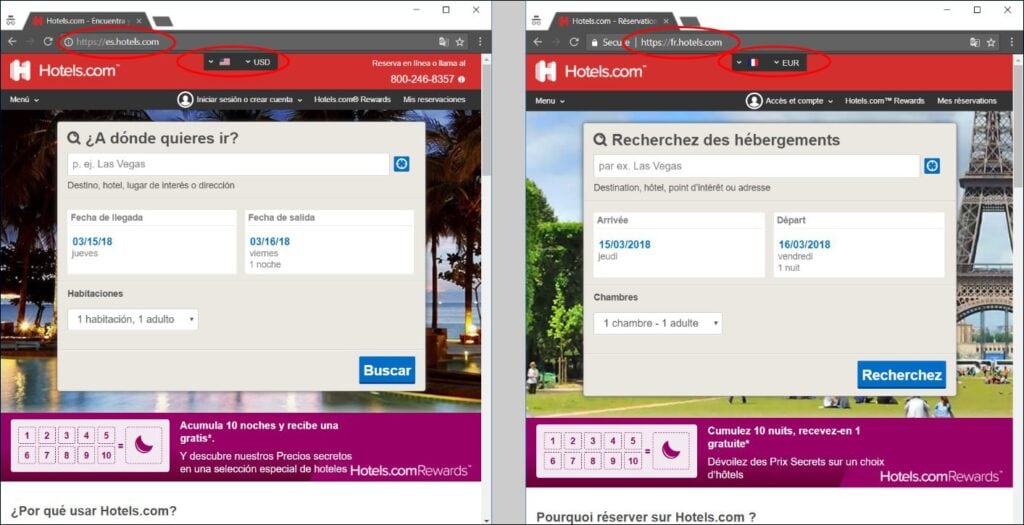
Hotels.com with their subdomain setup
These pages will then need to be linked together in the same way in which your English-speaking pages are connected to the user can navigate easily through your website. It’s basically like a copy of your website, just in another language that sites parallel to your English website.
However, you’ll then need also to add a link for each English-speaking page so people who are using that page as their landing page (the first page they land on while accessing your website) can then quickly translate the content.
The Separate Domain Approach – How to Build a Separate Domain layout
The second approach you can take is investing in separate websites that will represent each language. While the main concern is budget (since you’ll be paying for separate domains and custom-URLs), there are many benefits to using this approach.
Firstly, you can write content specific for each country. Although this is possible using a sub-domain approach, things can very complicated when you’re trying to manage several layers to a website.
Instead, on a separate domain setup, you can keep everything so there’s no risk of content ending up on the wrong website. An example of this would be when you may be writing about certain topics that are relevant in the UK, but no other country. This means you can host only relevant content on each website, giving your customers a better collection of relevant content that they’ll be interested in.
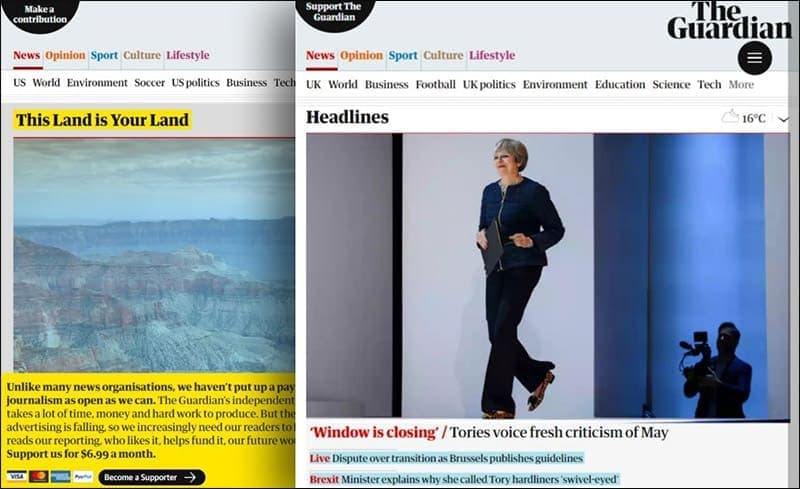
The Guardian: the US and the UK editions
With this approach, you can fully customize the user-experience for each country making your website appear more local (using .co.uk instead of .com). Though, you’ll have to build the SEO authority for each of your domains individually, which will take much longer as with the other two approaches.
Step 3 – Implement a Language Selection Menu
As with any website, the functionality and overall user experience need to be at the core of every decision you make. If you already have a website that you’re going to convert, you’ll want to start by seeing where the design features detailed below are going to fit into your current theme. If you’re starting a new website, you can simply start from scratch.
Most importantly, you’ll want to consider how users are going to be able to choose which language they view your website in. If you look online for examples, one of the most popular and effective forms for selection is using a well-placed drop-down menu.
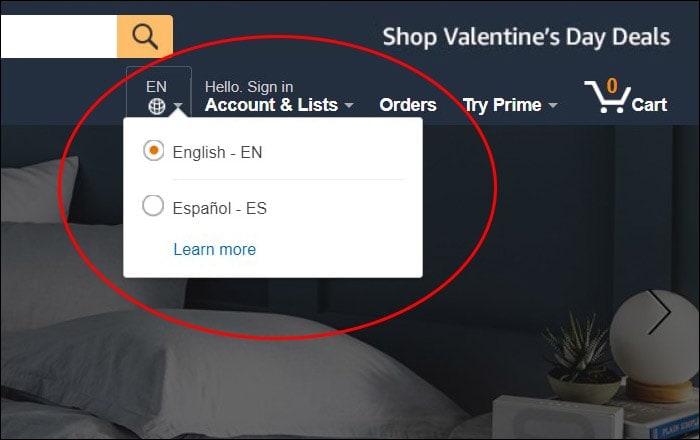
Amazon: Example of the drop-down menu
Typically, these menus are located in the top right-hand corner of the homepage and are a kind-of universal place to put them, meaning users will instinctively look here. Alternatively, another way you could implement the language change feature is by adding a list of languages to choose from.
You could add this to the header of your website, the footer or even into the sidebar, whatever you think looks good for the design that you’re using. It’s also worth noting that if you’re using a platform for your website, such as WordPress, there are many plugins and features you can use to make this task easier.
Step 4 – Format Your Language Selection Menu
Once you’ve decided on a design or feature that fits into your website’s theme, you can start by building the menu itself. Firstly, you’re going to want to start by listing out all the languages that you’re going to be offering.
Then, you’ll want to consider how you’re going to list them on the menu. There are typically two ways that businesses approach this; using flags or using text. Personally, I much prefer using a text-based approach since this is easy for users to recognize and define the language they want to use.
QUICK TIP: Stay away from using only flags on your menu. Remember that flags represent countries, not languages. What’s more, some countries will also have multiple languages spoken, and a language can be spoken in multiple countries. For example, Spanish (or versions of it) are spoken in countries all over the world.
Use a text-based option and remember to write the language in its native form. For example, German will need to be written as ‘Deutsch’, Spanish as ‘Español’ and French as ‘Français’. This is simply to provide your international users with a better UX (User Experience).
In most cases, many websites will choose to use a mixture of both text and flags where you’ll be able to identify the language that your user is looking for easily.
QUICK TIP: Be sure to scan your translated content and check for plagiarism and AI content. While your original content might not be plagiarized, your new content may be, so use plagiarism tools like Copyscape or Originality to check. Otherwise, you’ll risk damaging your website’s credibility and SEO ranking.
Step 5: Check Your Typography
The typography of your website in multiple languages is an important detail that so easy to overlook when you’re busy trying to design your website.
This includes the font and layout that you’re using for your content. While a hand-written font may look lovely for English text, you need to ask yourself just how readable is it going to be when you translate it to French or an even more complex language like Chinese or Arabic?
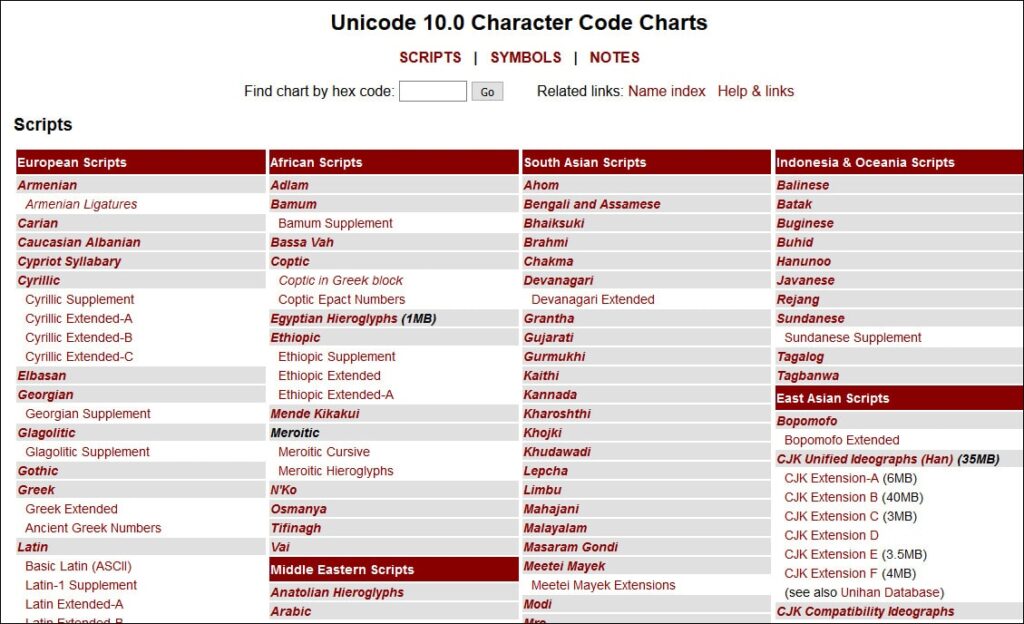
Always make sure you’re checking your content to ensure it’s readable for all the languages that you’re providing for your users. As a rule of thumb, when writing a multilingual website, it’s far easier to use Unicode, a platform capable of encoding characters from over 90 languages.
Hand in hand with the consideration above; you’re going to need to check the format and alignment of your text. While it may seem normal for you to align your text of the left-hand side of the page, some societies and cultures read from right to left, which means you’ll need to flip, or mirror, the page.
Remember the Little Details…
Through this detailed guide, we’ve covered quite a lot of the major designing and building points of a multilingual website, but it’s worth noting that you need to pay attention to the little nitty-gritty details to ensure that your website is perfect for users in other countries and other cultures.
For example, being aware of what a culture stands for and believes in is vital to your success. For example, you don’t want to upload an image or statement that another culture is going to find offensive. Be sure to check before going live.
Likewise, not every country uses the same format when it comes to displaying the date, which is something you’ll need to make sure is corrected when you’re translating and formatting a page.
The final thing you’re going to want to remember is how you present phone numbers. If you’re based in the UK, but your website is now operating in India, be sure to add the country code to the number so users can get in touch.
Conclusion
And that brings us to the end of this article on how to build a multilingual website. The main focus when designing your website is presenting your users with your USP (Unique Selling Proposition) as usual, by drawing focus onto providing your users with the best user experience that you possibly can. Take your time, get organized, and your new multilingual website is sure to be a success!
We keep our content up to date
25 Sep 2023 - Hostinger Website Builder added, other small updates
27 Jan 2023 - Smaller updates and corrections
THE BEHIND THE SCENES OF THIS BLOG
This article has been written and researched following a precise methodology.
Our methodology